绘制调试线
在之前的文章中,我们已经接触了射线追踪的概念。在这篇文章中,我们绘制一条“射线”,帮助进一步感受。
DrawDebugLine() 是 Unreal Engine 中的一个调试工具函数,它可以在编辑器中绘制一条线段,帮助我们可视化想要调试的数据。其函数原型如下:
- void DrawDebugLine(const UWorld* InWorld,
- FVector const& LineStart,
- FVector const& LineEnd,
- FColor const& Color,
- bool bPersistentLines = false,
- float LifeTime = -1.f,
- uint8 DepthPriority = 0,
- float Thickness = 0.f);
InWorld 指定在哪个世界中绘制线条。世界的概念在之前的文章中已经了解过,可以使用 GetWorld() 函数获取。
LineStart 指定线段的起点坐标;LineEnd 指定线段的终点坐标;Color 指定线条的颜色。
bPersistentLines 指定线条是否在整个游戏周期中都显示;LifeTime 指定线条显示的时间。
DepthPriority 指定深度值。数值越大,线条会显示在其他物体前面。
Thickness 指定线条的厚度。
在了解了 DrawDebugLine 的使用之后,我们回到之前的 Grabber 场景组件中,在其中绘制“视线”线段。
如代码清单 1 所示,使用 DrawDebugLine 函数需要引入 DrawDebugHelpers.h 头文件。在 TickComponent 中不断绘制调试线段。线段的起点是相机的位置;线段的终点在相机朝向向量的方向上,长度通过新建的成员变量 MaxGrabDistance 指定;线段的颜色设置为红色。
- #include "DrawDebugHelpers.h"
- // Called every frame
- void UGrabber::TickComponent(float DeltaTime, ELevelTick TickType, FActorComponentTickFunction* ThisTickFunction)
- {
- Super::TickComponent(DeltaTime, TickType, ThisTickFunction);
- FVector Start = GetComponentLocation();
- FVector End = Start + GetForwardVector() * MaxGrabDistance;
- DrawDebugLine(GetWorld(), Start, End, FColor::Red);
- }
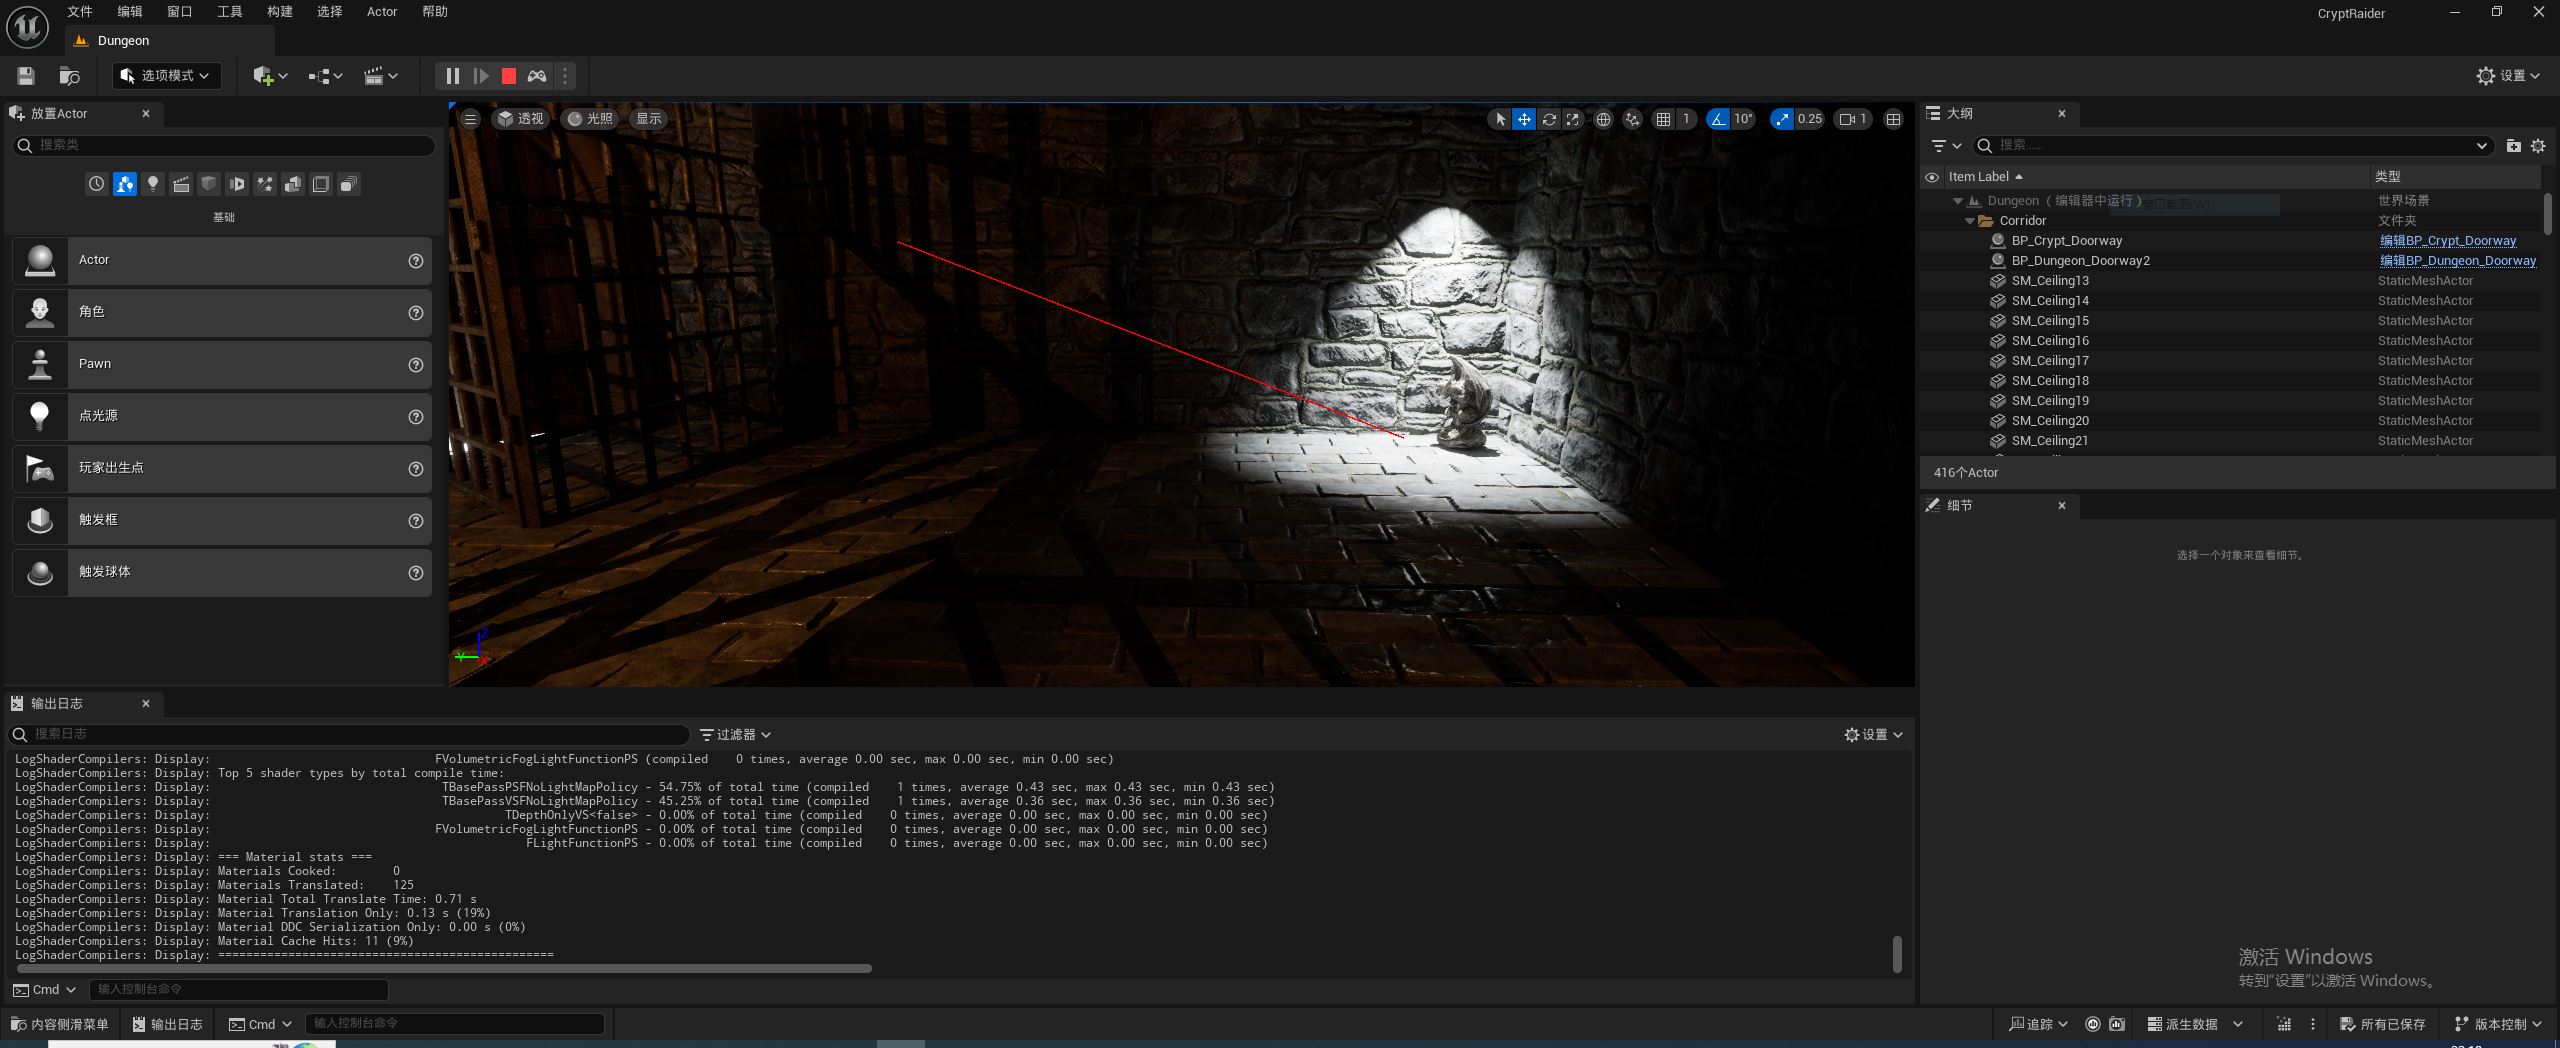
运行程序。在编辑器中按 F8 弹出,查看场景情况。如图 1 所示,可以看到绘制了当前视角方向的一条红色线段。