暴露 C++ 组件
在上一篇文章中,我们已经了解了如何使用 UPROPERTY() 暴露 C++ 组件,有各种限定词。
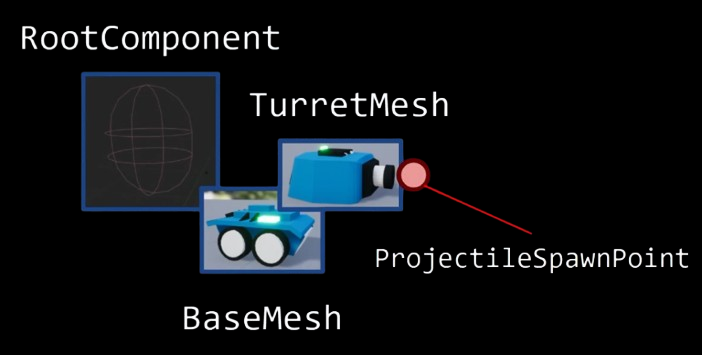
在这一篇文章中,我们将之前的 C++ 组件暴露给蓝图。然后在蓝图里,按照图 1 的结构,在蓝图里设置和组装 Mesh。
如代码清单 1 所示,我们对各个组件变量添加 UPROPERTY 属性,设置为可见的、蓝图只读的。
注意要添加 meta = (AllowPrivateAccess = "true")。
因为此处变量是私有的。不加的话,编译会报“BlueprintReadOnly should not be used on private members”的错误。
- UCLASS()
- class TOONTANKS_API ABasePawn : public APawn
- {
- GENERATED_BODY()
- private:
- UPROPERTY(VisibleAnywhere, BlueprintReadOnly, Category = "Components", meta = (AllowPrivateAccess = "true"))
- UCapsuleComponent* CapsuleComp;
- UPROPERTY(VisibleAnywhere, BlueprintReadOnly, Category = "Components", meta = (AllowPrivateAccess = "true"))
- UStaticMeshComponent* BaseMesh;
- UPROPERTY(VisibleAnywhere, BlueprintReadOnly, Category = "Components", meta = (AllowPrivateAccess = "true"))
- UStaticMeshComponent* TurretMesh;
- UPROPERTY(VisibleAnywhere, BlueprintReadOnly, Category = "Components", meta = (AllowPrivateAccess = "true"))
- USceneComponent* ProjectileSpawnPoint;
- };
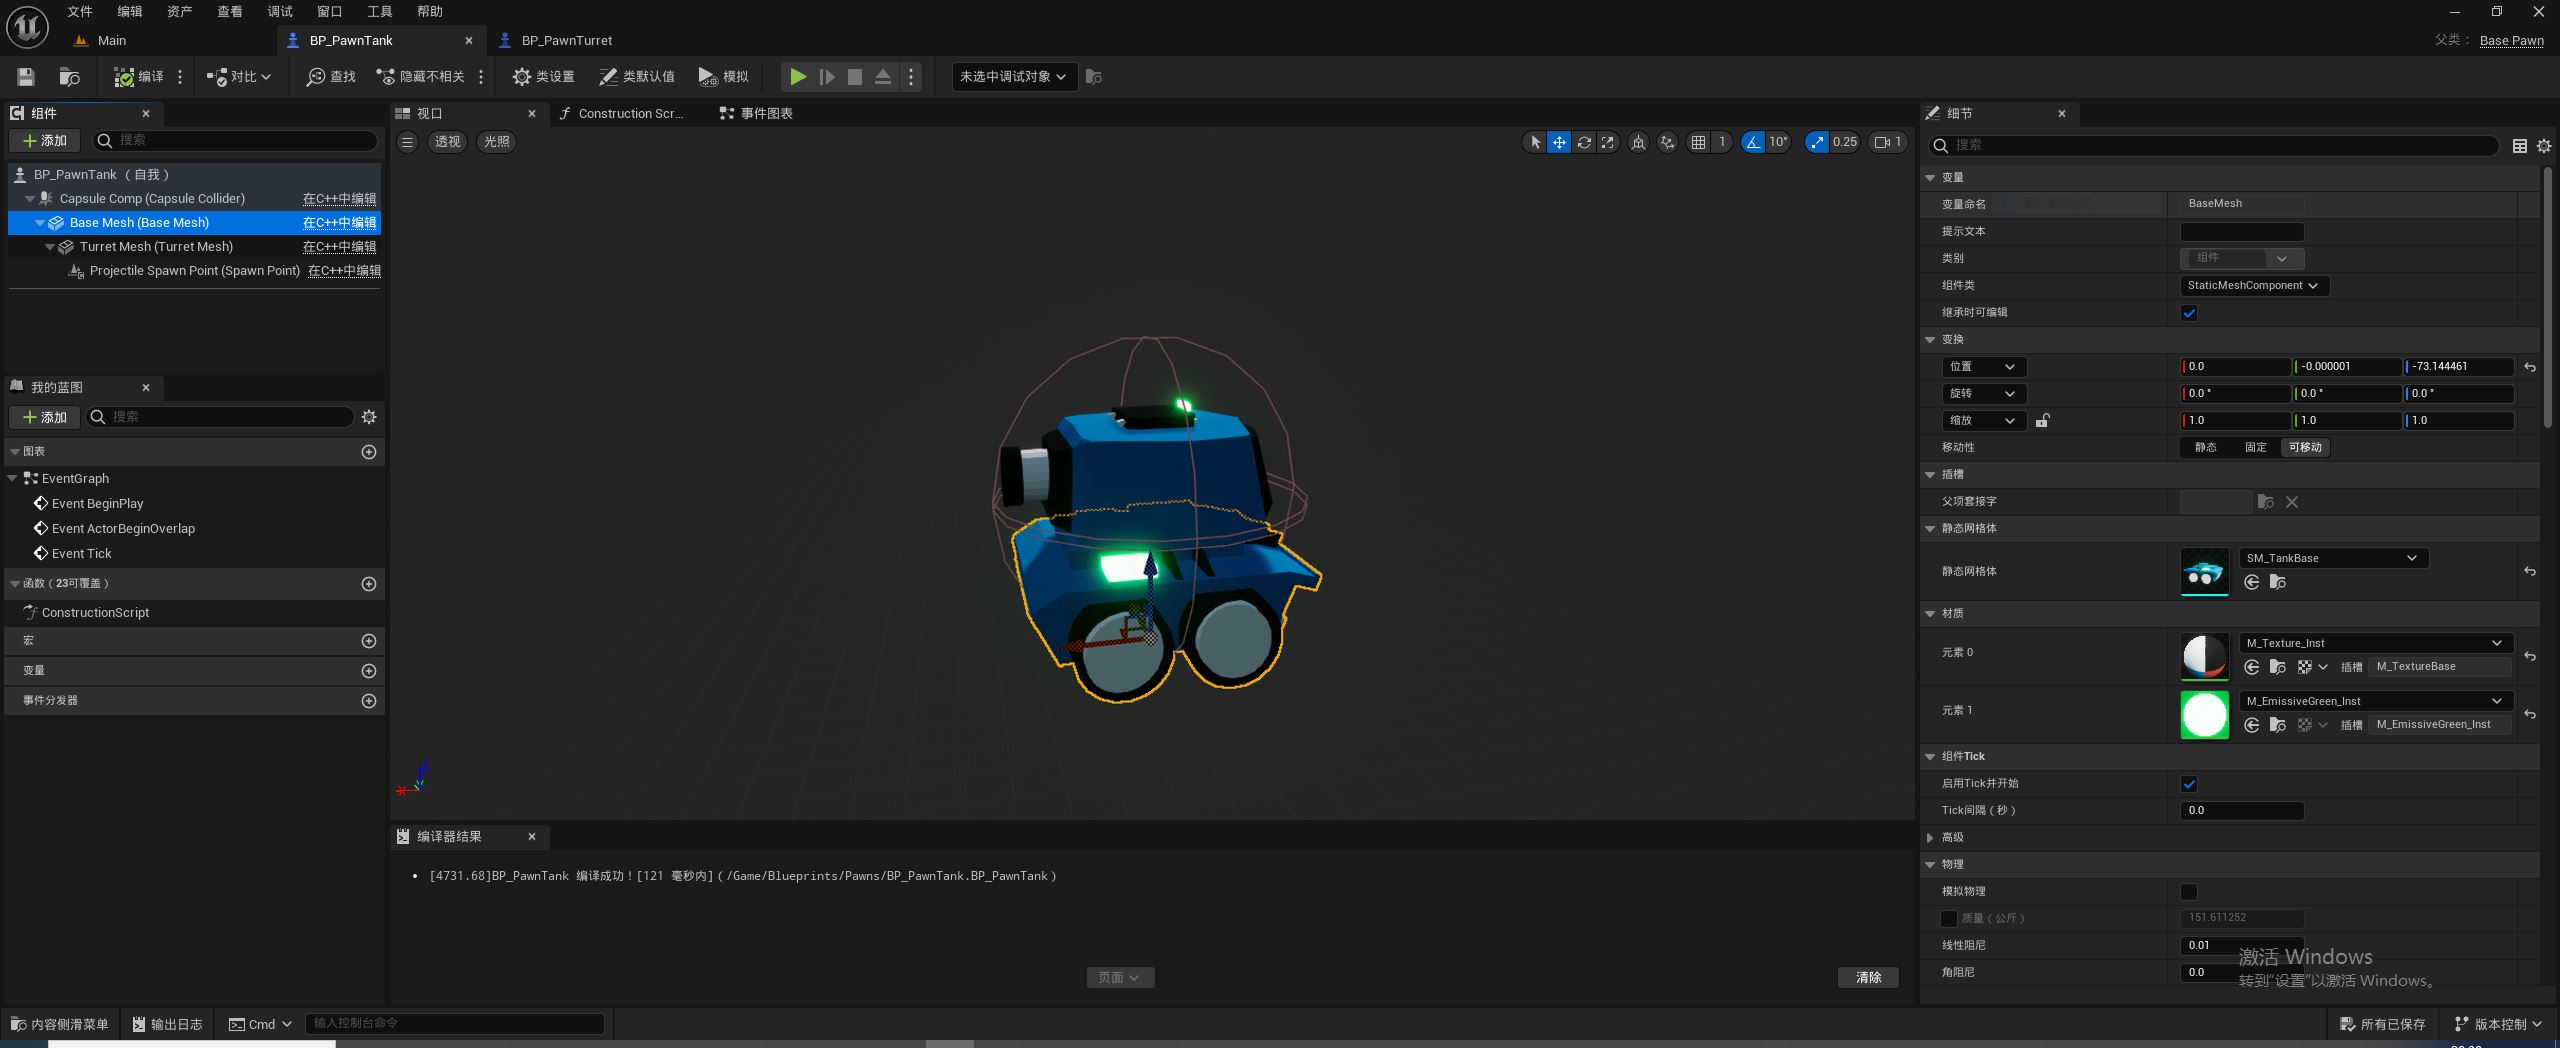
接着回到坦克和炮塔的蓝图中,如图 2 所示,在左侧的组件窗体中可以看到暴露出来的 C++ 变量。我们在 静态网格体 属性里设置底座和炮塔 Mesh。然后调整碰撞胶囊体的大小和发射点的位置。
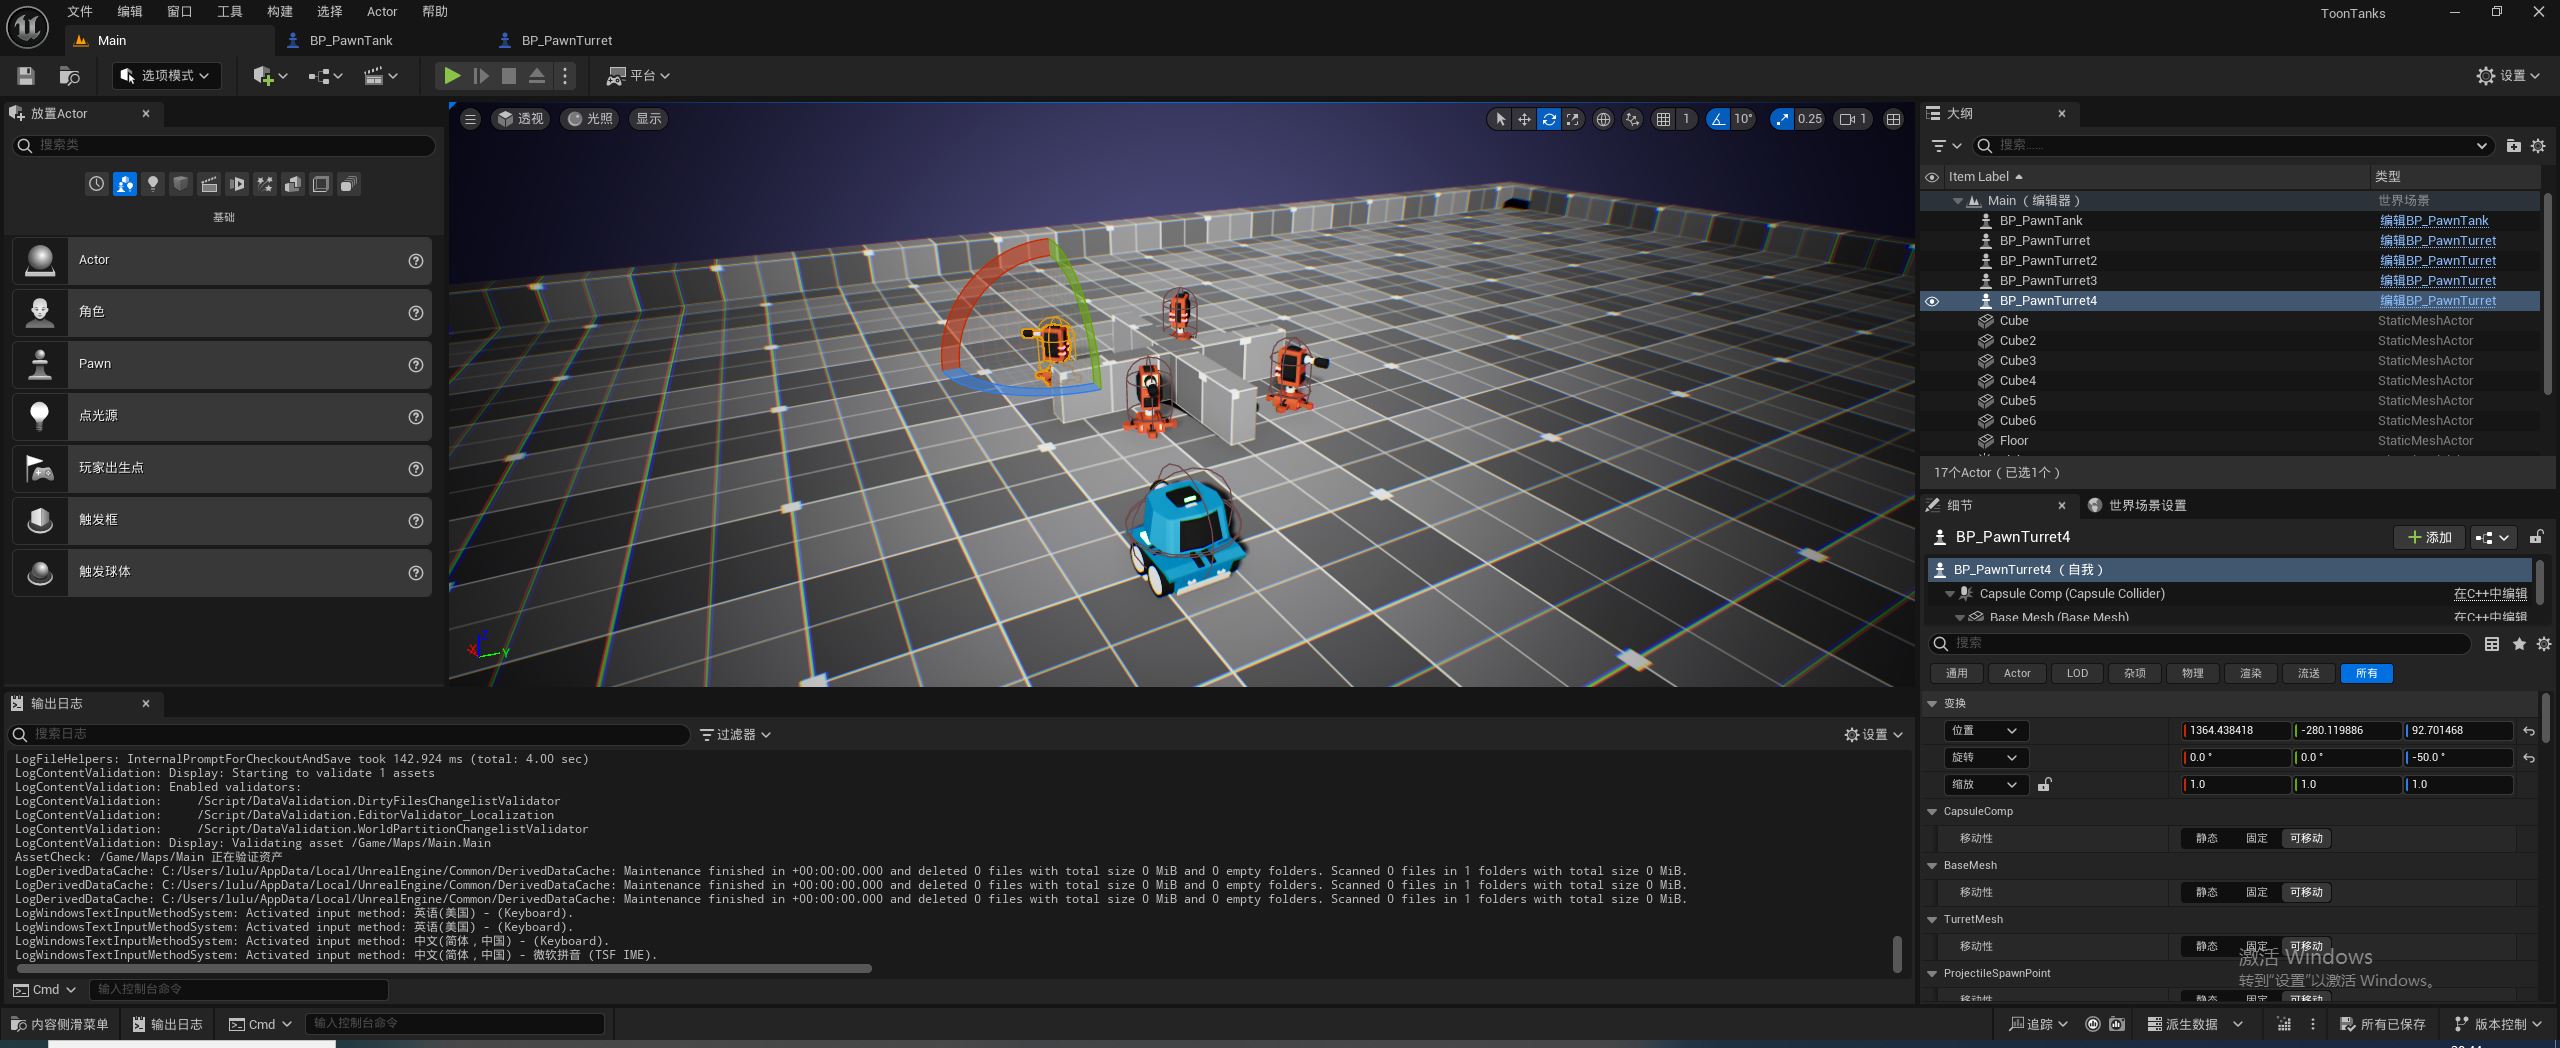
坦克和炮塔蓝图设置好之后,如图 3 所示,我们就可以把它们摆放到场景中。